Building a Primitive Wood Fire Kiln - Part One
I didn't post anything this past weekend, because I was busy doing something that I could post about later (having to work from 7:30 am to 10:15 pm on Thursday didn't help much either). I was working on building a new wood fire kiln. The style of this kiln is a primitive style. A kiln of this style can be used to make pots, mugs and things, but with a firing loss of about 30 to 40 percent, which is normal for this kind of kiln. Also, the heat is hot enough to create a hot bisque, but not hot enough to get a very good glaze. It can't get up to stoneware temp. It does get hot enough for a low fire glaze (cones 05-03), but it is a very messy kiln, and ash gets on the glaze. This kind of kiln works best for making bricks (which in turn can be used to make a clean firing kiln, or whatever you would want bricks for).
I made one before and used it to make many bricks. I also used it to attempt a couple firings of mugs, with the usual losses. The ashes in the glazing portion however made the mugs too textured to be usable. In that the outside air temperatures prevent the heat from the kiln to reach vitrifying temperatures on the outside of the kiln, it was very susceptible to rain damage. Therefore I made a shelter to cover it. One time during the late winter/early spring we had one of those severely windy days common for that time of year. It was a day of sustained winds of 50 mph, with gusts up to 70 mph or more. One of those gusts came and tore the roof right off the shelter. It twisted and snapped the 4x4 posts that held up the roof. Then the wind sent the whole roof crashing down on the kiln. It only crushed the chimney, which was easily repairable. I used it to make some more bricks a few times, but after another year the rains weakened it too much and it collapsed.
I have several building projects coming up for which I will want bricks (fireplaces, chimneys, a small bridge to go over a creek, and of course more kilns that are not subject to rain damage). That is why I started building a new kiln this weekend.


Several years ago I found clay on my property. It is a fairly large deposit about four to six feet deep. It is a grey clay, which is rare for around here, but it still has iron impurities in it, making it fire to a reddish brown color anyway. That's because there is so much iron in this part of the world. For instance, you can throw even a weak magnet into any exposed dirt, and it will be covered with iron rich sand and pebbles. I had my clay tested at one of the local universities, and it is a clay composed of volcanic ash. That's odd, because the nearest volcano is Yellowstone's caldera, which is about 1000 miles from here. The clay is in a low spot on my land (the rest is gradual hills of moraine sand - glacial till). The clay/ash layer is over the moraine layer in that low spot, and probably washed down there after the eruption. This washing in would account for it picking up the iron impurities. Figuring in the surface area of the surrounding hillocks compared to the average 5.5 ft. depth of the deposit, the original blanket of ash would have been between 6 to 8 inches deep. That's quite an eruption with Yellowstone as the only culprit. If it was this deep here, I can only wonder how thick it was across the rest of Minnesota and Wisconsin, not to mention the thickness it must have been in the upper Mississippi system and the High Plains.
We are told that Yellowstone blows every 75 to 100 million years, and that the last time it blew was about 50 million years ago, so it won't blow again for at least another 25 million years. I think they tell us that so we won't panic. The raw physical evidence here contradicts that though. The first being that the deposit sits on TOP of the glacial till, which wasn't even exposed until about 11,000 to 8000 years ago, after the Pleistocene, and then again the Younger Dryas was over, and the glacier sheets finally melted. Another problem with their stories of comfort is that there are only a few inches of soil above the ash/clay layer. Basically it is only the root layer that is covering it. That makes this layer fairly recent. How recent I can't tell for sure. However, this ash later might answer the question of what happened to the Copper Age/Early Bronze Age cultures that developed here and then suddenly collapsed and disappeared, being replaced by primitive hunter-gatherer cultures.

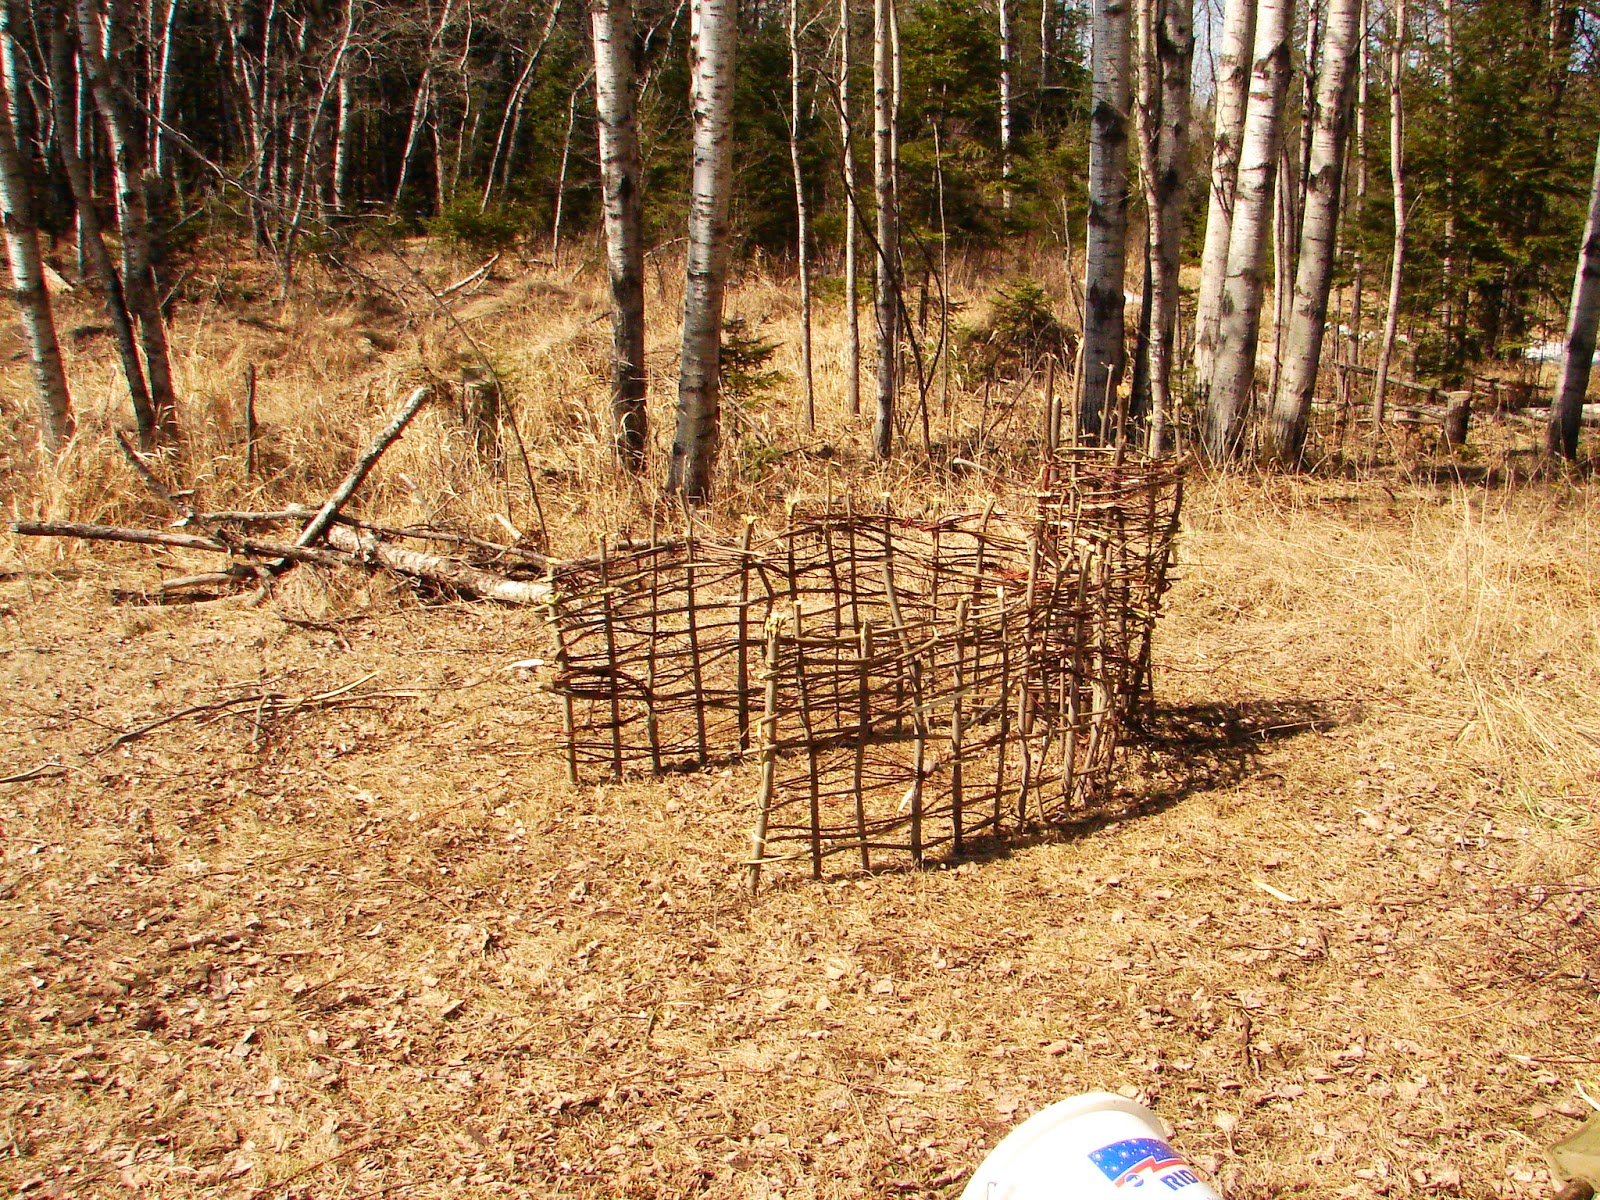
Anyway, here's how you build a primitive wood fire kiln. Start off by selecting a piece of ground that is level and close enough to the clay deposit. If you have to bring in your clay, then just pick a level spot. Put in a series of sticks into the ground for your perimeter. Include the chimney in this layout. The sticks should be ideally about 3/4 of an inch thick (about 1.5 cm). Don't exceed and inch thick. After they are in place start weaving thin pieces of willow into the framework, like a very open weave basket. This is the wattle part of the building technique known as "wattle and daub."

As you work your way up the chimney you need to put in support sticks for a the flue. Without a flue, the chimney won't draw properly. After you've woven up about six inches above the flue, you need to start applying the "daub." The daub is a mixture of mostly clay, with dried grass mixed in. The grass provides strength for a regular wattle and daub wall, but for something like a kiln or a fired brick it provides small channels for expanding gasses to escape. These gasses come from burnable material inside the heating clay. When the kiln is fired all the woven sticks will burn away. The gasses from this need to go somewhere. Without the dried grass to let them out the clay would just blow up, rendering all your work as useless.

When applying the daub you have to push the clay into the framework from both sides. For the flue you will just pile the daub mixture onto the support sticks until it's level. After putting the daub onto the chimney up to about six inches past the flue, you may start applying daub all around the rest of the lower part of the framework.

The pictures shown right now are from the old kiln I made. I will take pictures of the new one as this project progresses.
No comments:
Post a Comment